How to Fix Peeling Paint (and Stop It Coming Back)
Diagnose why paint is peeling — moisture, prep failure, wrong primer, incompatible coatings — then scrape, sand, prime, and recoat so it actually holds. The honest fix from a 22-year contractor.

Paint doesn’t peel because paint is bad. It peels because something underneath failed. Find the cause first, or you’ll be back on the same ladder next spring.
Does this match what you’re seeing?
How the paint peels tells you most of what you need to know. Look at the pattern before you grab a scraper.
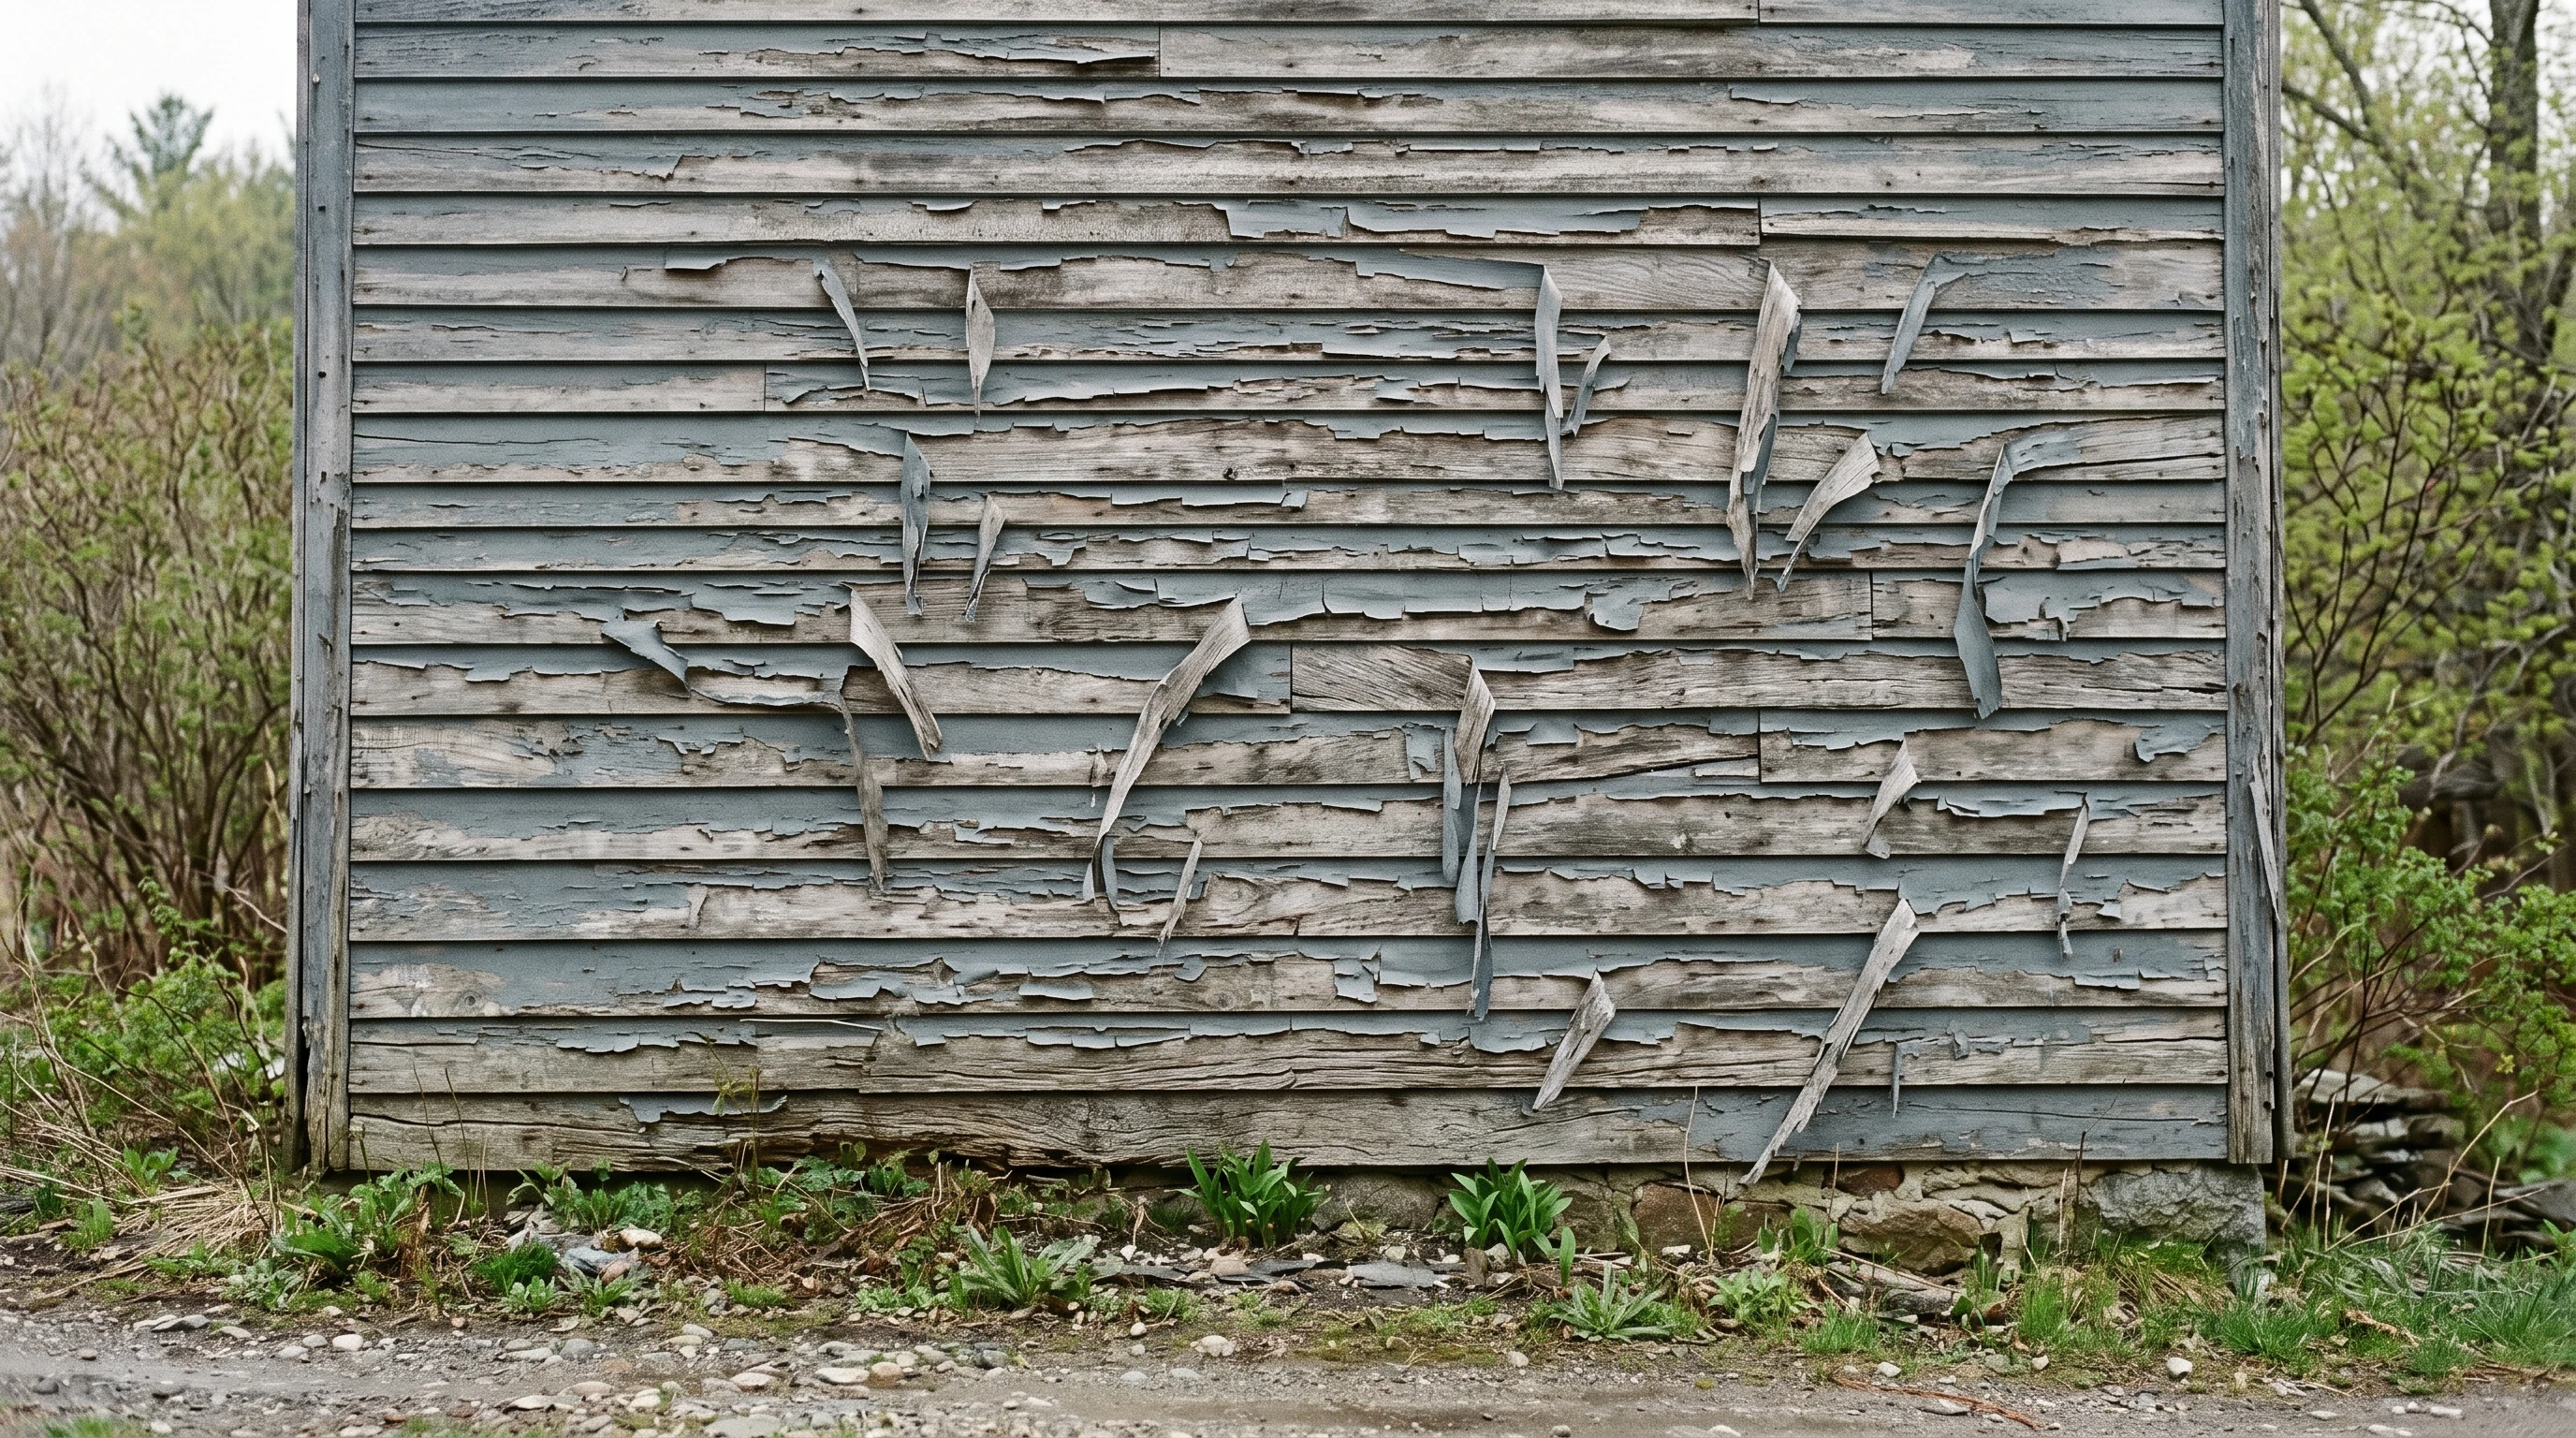
- Long curling strips on exterior wood: moisture pushing out from behind. North-facing walls, gable ends.
- Sheets lifting with no curl: intercoat failure. Latex over un-sanded oil, or fresh paint over a glossy or chalky surface.
- Bubbles or blisters that pop: trapped moisture or solvent. Painted in direct sun, over a damp substrate, or before primer was dry.
- Small flat chips, no curl: the underlying paint is dead. Chalked, sun-baked. What’s under your new coat is dust.
- Peel near tubs, sinks, windows, trim joints: liquid water intrusion. Caulk or flashing dumping water behind the film.
- Alligatoring (cracked grid, no peel yet): old film losing flexibility. Will peel soon. Strip or encapsulate.
If the pattern doesn’t match cleanly, it’s usually a mix of moisture and bad prep.
How serious is this?
Interior trim peel is a same-weekend fix. Whole-side exterior peel is a two-weekend job plus a moisture investigation. Three triggers push this to high severity:
- Pre-1978 home: lead until tested. EPA RRP rules apply.
- Soft, dark, or sagging substrate: water is in the wood or drywall. Replace it; paint won’t save it.
- Peel returning within 12 months of a proper repaint: moisture source is still active. Stop painting and start diagnosing.
Why this is happening (root cause)
Three problems cause most peel, and they overlap.
Moisture. On exteriors, vapor migrates from inside outward: bad vapor barrier, bath fans venting into the soffit. On interiors, it’s bathroom condensation, kitchen steam, or a slow plumbing leak. Vapor lifts paint from underneath and the bond breaks.
Bad prep, including the wrong primer. Latex over un-scuffed oil. Fresh paint over a glossy surface with no deglosser. Roller coats over chalky old film. Bare wood with no primer at all. The new coat looks fine for six months and sheets off. Prep is 80% of a paint job and the part homeowners skip.
Application conditions. Painted in direct sun, at 95°F, at 35°F when the can said 50°F, before a rainstorm, or onto a dewy surface. The film flashes too fast, never builds adhesion.
Before you paint, press painter’s tape against the existing film. If paint comes off with the tape, you have a substrate problem, not a paint problem.
The fix
Step 1. Stop the moisture source
Exterior wood: check the gutter directly above. Overflowing? Fix that first. Around windows or trim: check caulk and flashing. In a bathroom: hold a square of TP to the exhaust fan grate. If it doesn’t stick, the fan is dead.
If you can’t find a source, run a hygrometer for two weeks. Indoor RH above 60% is the moisture source.
Don’t paint until the substrate has been dry for 24 hours.
Step 2. Scrape
A 2-inch carbide scraper, held at 30 degrees, two-handed, pulled toward you. Anything that releases under light pressure is failing; get it off. Don’t gouge sound paint loose. You’ll just chew the substrate.
For pre-1978 homes, wet-scrape only. Mist as you go, lay plastic to catch chips, vacuum with a HEPA filter. Shop vacs spread lead dust; they don’t capture it.
Step 3. Feather the edges
You’ve now got cliffs: bare substrate next to a hard edge of remaining paint. Topcoat over a cliff and the transition telegraphs through forever. Sand each one with 80 grit, then 120, until the edge feels flush under your fingertip. Skipping this is the difference between a repair you see from across the street and one you don’t.
Power sanders eat substrate fast. Lowest setting, finish by hand.
Step 4. Wash and dry
Bare wood, gypsum, and aged paint all carry dust, chalk, or grease even after sanding. TSP or substitute, scrub, rinse, dry 24 hours minimum on exteriors. Don’t skip this on a kitchen ceiling. There’s grease on it whether you see it or not.
If you saw mildew, treat with Concrobium Mold Control or a 1:10 bleach solution first. Never mix bleach with vinegar, ammonia, or hydrogen peroxide. Produces toxic chlorine gas. See how to fix mold on walls →.
Step 5. Spot-prime
Match the primer to the problem:
- Bare exterior wood: Zinsser Cover Stain (oil-based, locks tannin).
- Chalky old exterior paint: Zinsser Peel Stop. Glues the chalk down so the topcoat has something to grab.
- Glossy interior, oil under latex: Zinsser Bulls Eye 1-2-3 or INSL-X STIX.
- Drywall patches: PVA primer. Gypsum and joint compound absorb differently.
- Severe stains, water damage, smoke: Zinsser BIN (shellac). Blocks anything from bleeding through.
If the substrate drinks the first coat into a flat dead spot, you should have used oil. Apply a second.
Step 6. Skim and fill
Where peel was deep or the substrate is gouged, skim with lightweight spackle (interiors) or an exterior wood filler like Bondo or Abatron. Sand flush at 220 grit. Spot-prime the filled area; fillers absorb differently than the paint around them.
For textured walls, match the texture first with spray-can orange peel or knockdown.
Step 7. Repaint
Two coats. Always. One-coat coverage means one coat under perfect conditions, and your repair zone isn’t perfect conditions.
- Exterior wood/siding: 100% acrylic, satin or low-gloss. Sherwin-Williams Duration, Benjamin Moore Aura Exterior, Behr Marquee.
- Bathroom/kitchen: mildew-resistant satin or semi-gloss like Zinsser Perma-White. See the sheen guide → for what handles moisture without showing every roller mark.
- Interior trim: acrylic-alkyd hybrid (Benjamin Moore Advance, Sherwin-Williams Emerald Urethane). Levels like oil, cleans up like latex.
Cut in the corners, roll while the cut-in is still wet, don’t stop in the middle of a wall. Stopping mid-wall is how you get lap marks, and lap marks show up the second the morning sun hits them.
Safety
N95 during sanding, P100 if pre-1978. Cross-ventilate while stripping, priming, painting. Eye protection overhead. Drop cloths everywhere; chips travel.
By location
| Location | Likely cause | Critical prep | Topcoat |
|---|---|---|---|
| Bathroom walls/ceiling | Condensation | Treat mildew, fix ventilation | Mildew-resistant satin (Perma-White) |
| Interior trim, oil under latex | Intercoat failure | Sand dull + bonding primer | Acrylic-alkyd hybrid trim enamel |
| Exterior siding, north-facing | Vapor migration + chalk | Peel Stop on chalk, prime bare | 100% acrylic exterior, satin |
| Exterior trim, sun side | UV + film fatigue | Strip alligatored sections | Acrylic trim, low-gloss |
| Around tubs, sinks, windows | Liquid water intrusion | Re-caulk first, then prime | Bath-grade or exterior trim |
| Drywall patch lines | No primer over patch | PVA primer over patches | Match existing wall paint |
| Soffits and eaves | Bath fan venting into soffit | Reroute fan, prime bare | Exterior acrylic |
| Garage/basement concrete | Efflorescence (not paint failure) | See brick guide | Masonry-rated paint |
Efflorescence on masonry reads like peeling paint but the fix is different: see how to paint exterior brick →.
Prevention
- Bathrooms: exhaust fan during and 20 minutes after every shower. Target 1 CFM per square foot. If the fan can’t pull a sheet of TP against the grate, replace it.
- Gutters: clean twice a year, redirect downspouts from the foundation.
- Caulk: inspect every spring. Re-caulk trim joints with a 50-year urethane, not painter’s caulk.
- Bath fans into soffits: reroute through the roof. That one mistake destroys north-facing exteriors from the inside out.
- Temperature: most exterior latex needs 50°F+ overnight low for 48 hours after application. Painting in late October because the surface “feels warm enough” is how next spring’s peel job starts.
- Two coats on exteriors. One coat is half the protection.
Lead-paint warning (pre-1978 homes)
If your house was built before 1978, the paint underneath is probably lead-based. Disturbing it without containment is a serious health hazard, especially for kids and pregnant women. Regulated under the EPA’s RRP rule.
Test with 3M LeadCheck swabs (~$10 at any home center). Cut a notch to expose every layer, swab each one.
If positive: DIY under RRP-equivalent practices means wet-scrape only, plastic containment, P100 respirator, HEPA cleanup, no power-sanding without a HEPA sander. Or hire a certified RRP contractor. That’s the call if the area is more than a few square feet, you have kids at home, or you don’t own HEPA gear.
No dry-scraping, no power-sanding, no heat guns. Heat guns volatilize lead.
When to call a pro
- Pre-1978 home with widespread peel
- Visible water damage to drywall, framing, or sheathing
- Repeating peel on the same wall for the third time
- Mold area >10 sq ft alongside the peel (EPA threshold)
- Peel above 12 feet on a two-story exterior
- Alligatored film over a wide area; full strip job, not a touch-up
What’ll bite you in two years
Skip the moisture diagnosis and you’ll be back on the same ladder in 18 to 24 months. Paint is the visible layer of a system. If the system leaks, the paint shows it.