How to Paint MDF (and Stop the Edges from Swelling)
MDF takes paint beautifully — but only if you seal the edges first. Full prep + paint guide for cabinets, trim, and panel work.

Two coats. Always two coats. That’s the whole rule for MDF, and the only way to land a finish that doesn’t telegraph fuzz at every edge.
TL;DR
- Sand: 220-grit on the face, 150-grit on the edges
- Seal edges: drywall mud OR shellac BIN — not latex primer
- Prime: Zinsser BIN or INSL-X Stix, full coat
- Paint: waterborne alkyd, two coats
- Cure: 30 days before serious wipe-down
Why MDF is tricky
MDF is sawdust pressed into resin. The face is dense and paints like wood. The edges are end-grain — they soak up water-based primer like a sponge, fibers swell, and you get fuzz that shows through every topcoat.
Skip the edge-sealing step and you’ll be back here in two months wondering why your cabinet doors look like they were printed on cardstock.
MDF grades — know what you’re working with
Not all MDF is the same. The grade affects how it accepts paint and what kind of moisture it tolerates:
| Grade | Density (lb/cf) | Moisture tolerance | Paintability | Where you find it |
|---|---|---|---|---|
| Standard MDF | 45–50 | Low | Good (with edge sealing) | Big-box panels, basic cabinetry |
| Moisture-resistant (MR / green) | 47–53 | Moderate | Good | Bathroom cabinets, kitchens away from sinks |
| HDF (high-density) | 50–60 | Low–moderate | Excellent | Cabinet doors, premium millwork |
| Ultralight MDF (ULDF) | 28–35 | Very low | Fair (more edge fuzz) | Internal panels, weight-sensitive applications |
| Exterior-grade MDF | 47–53 | High (resin-modified) | Good | Exterior door cores, exterior trim |
Standard MDF is what you’ll find at every Home Depot and Lowe’s. It’s fine for indoor cabinetry, trim, and furniture as long as the painted surface stays dry. Do not use standard MDF in bathrooms with poor ventilation, in basements with high humidity, or anywhere it’ll see direct water contact — the panel swells and crumbles. For wet locations, MR-grade MDF is the minimum spec.
For cabinet door work specifically, HDF is the upgrade — denser, holds detail better, slightly more expensive. Pre-primed MDF panels (sold at trim suppliers) are HDF-grade with factory-applied sealer; they save the prep step but cost 20–30% more.
Particle board is not MDF — and you can’t paint it the same way
Confusion to watch for: particle board (chip core) is a different product class. It uses larger wood chips with less resin, has a coarser face, and absorbs moisture far more readily. It does not paint cleanly without significant edge sealing AND face filling. If your “MDF” cabinet looks chunky inside the cut edge — visible chip pattern, not fine dust — it’s particle board. Either skin it with veneer, laminate, or a paintable rigid wrap, or buy MDF replacements.
Step 1 — Prep
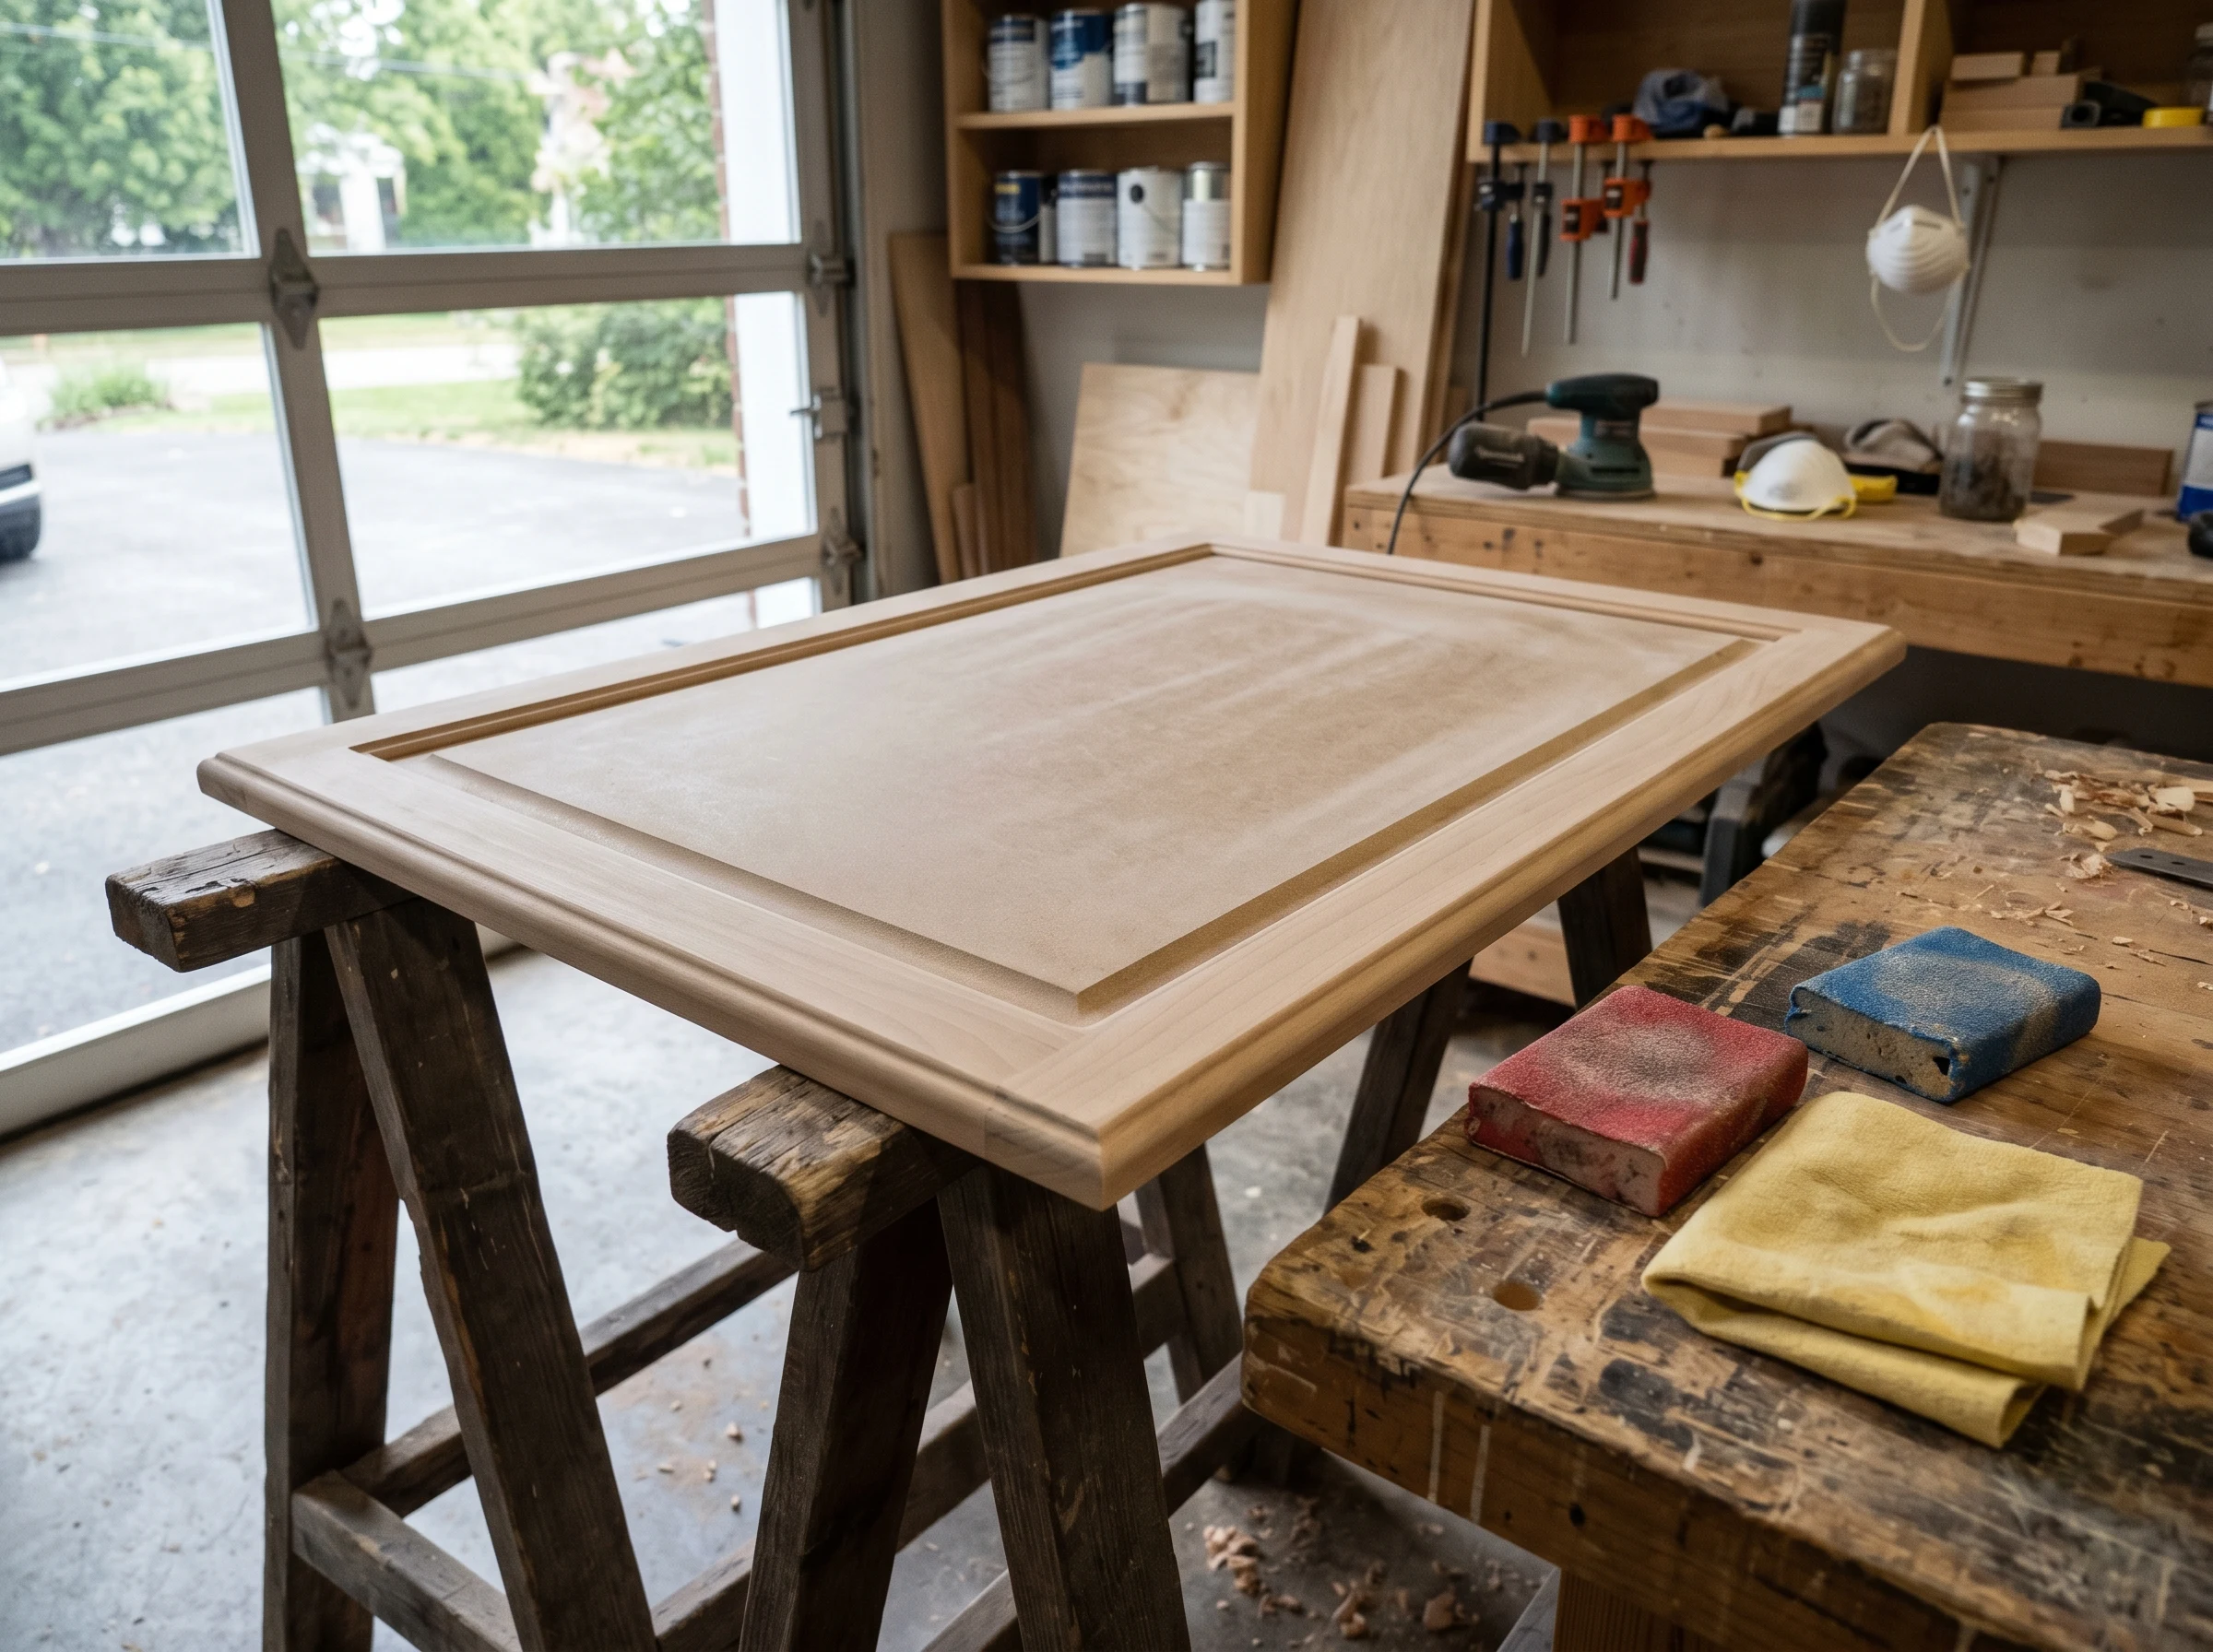
220-grit on the face, 150 on the edges. The face goes hazy; the edges go from rough to almost-paper-smooth.
Vacuum every surface and edge. MDF dust is fine, sticky, and gets into the primer if you don’t pull it out first. Mask the wall side. Wipe down with a tack cloth.
220-grit sponge on the face, 150-grit on the edges. You’re scuffing the face just enough to break the factory mill glaze. The edges you’re trying to compress and smooth — you’ll feel them go from rough to “almost paper” under your hand.
Step 2 — Seal the edges
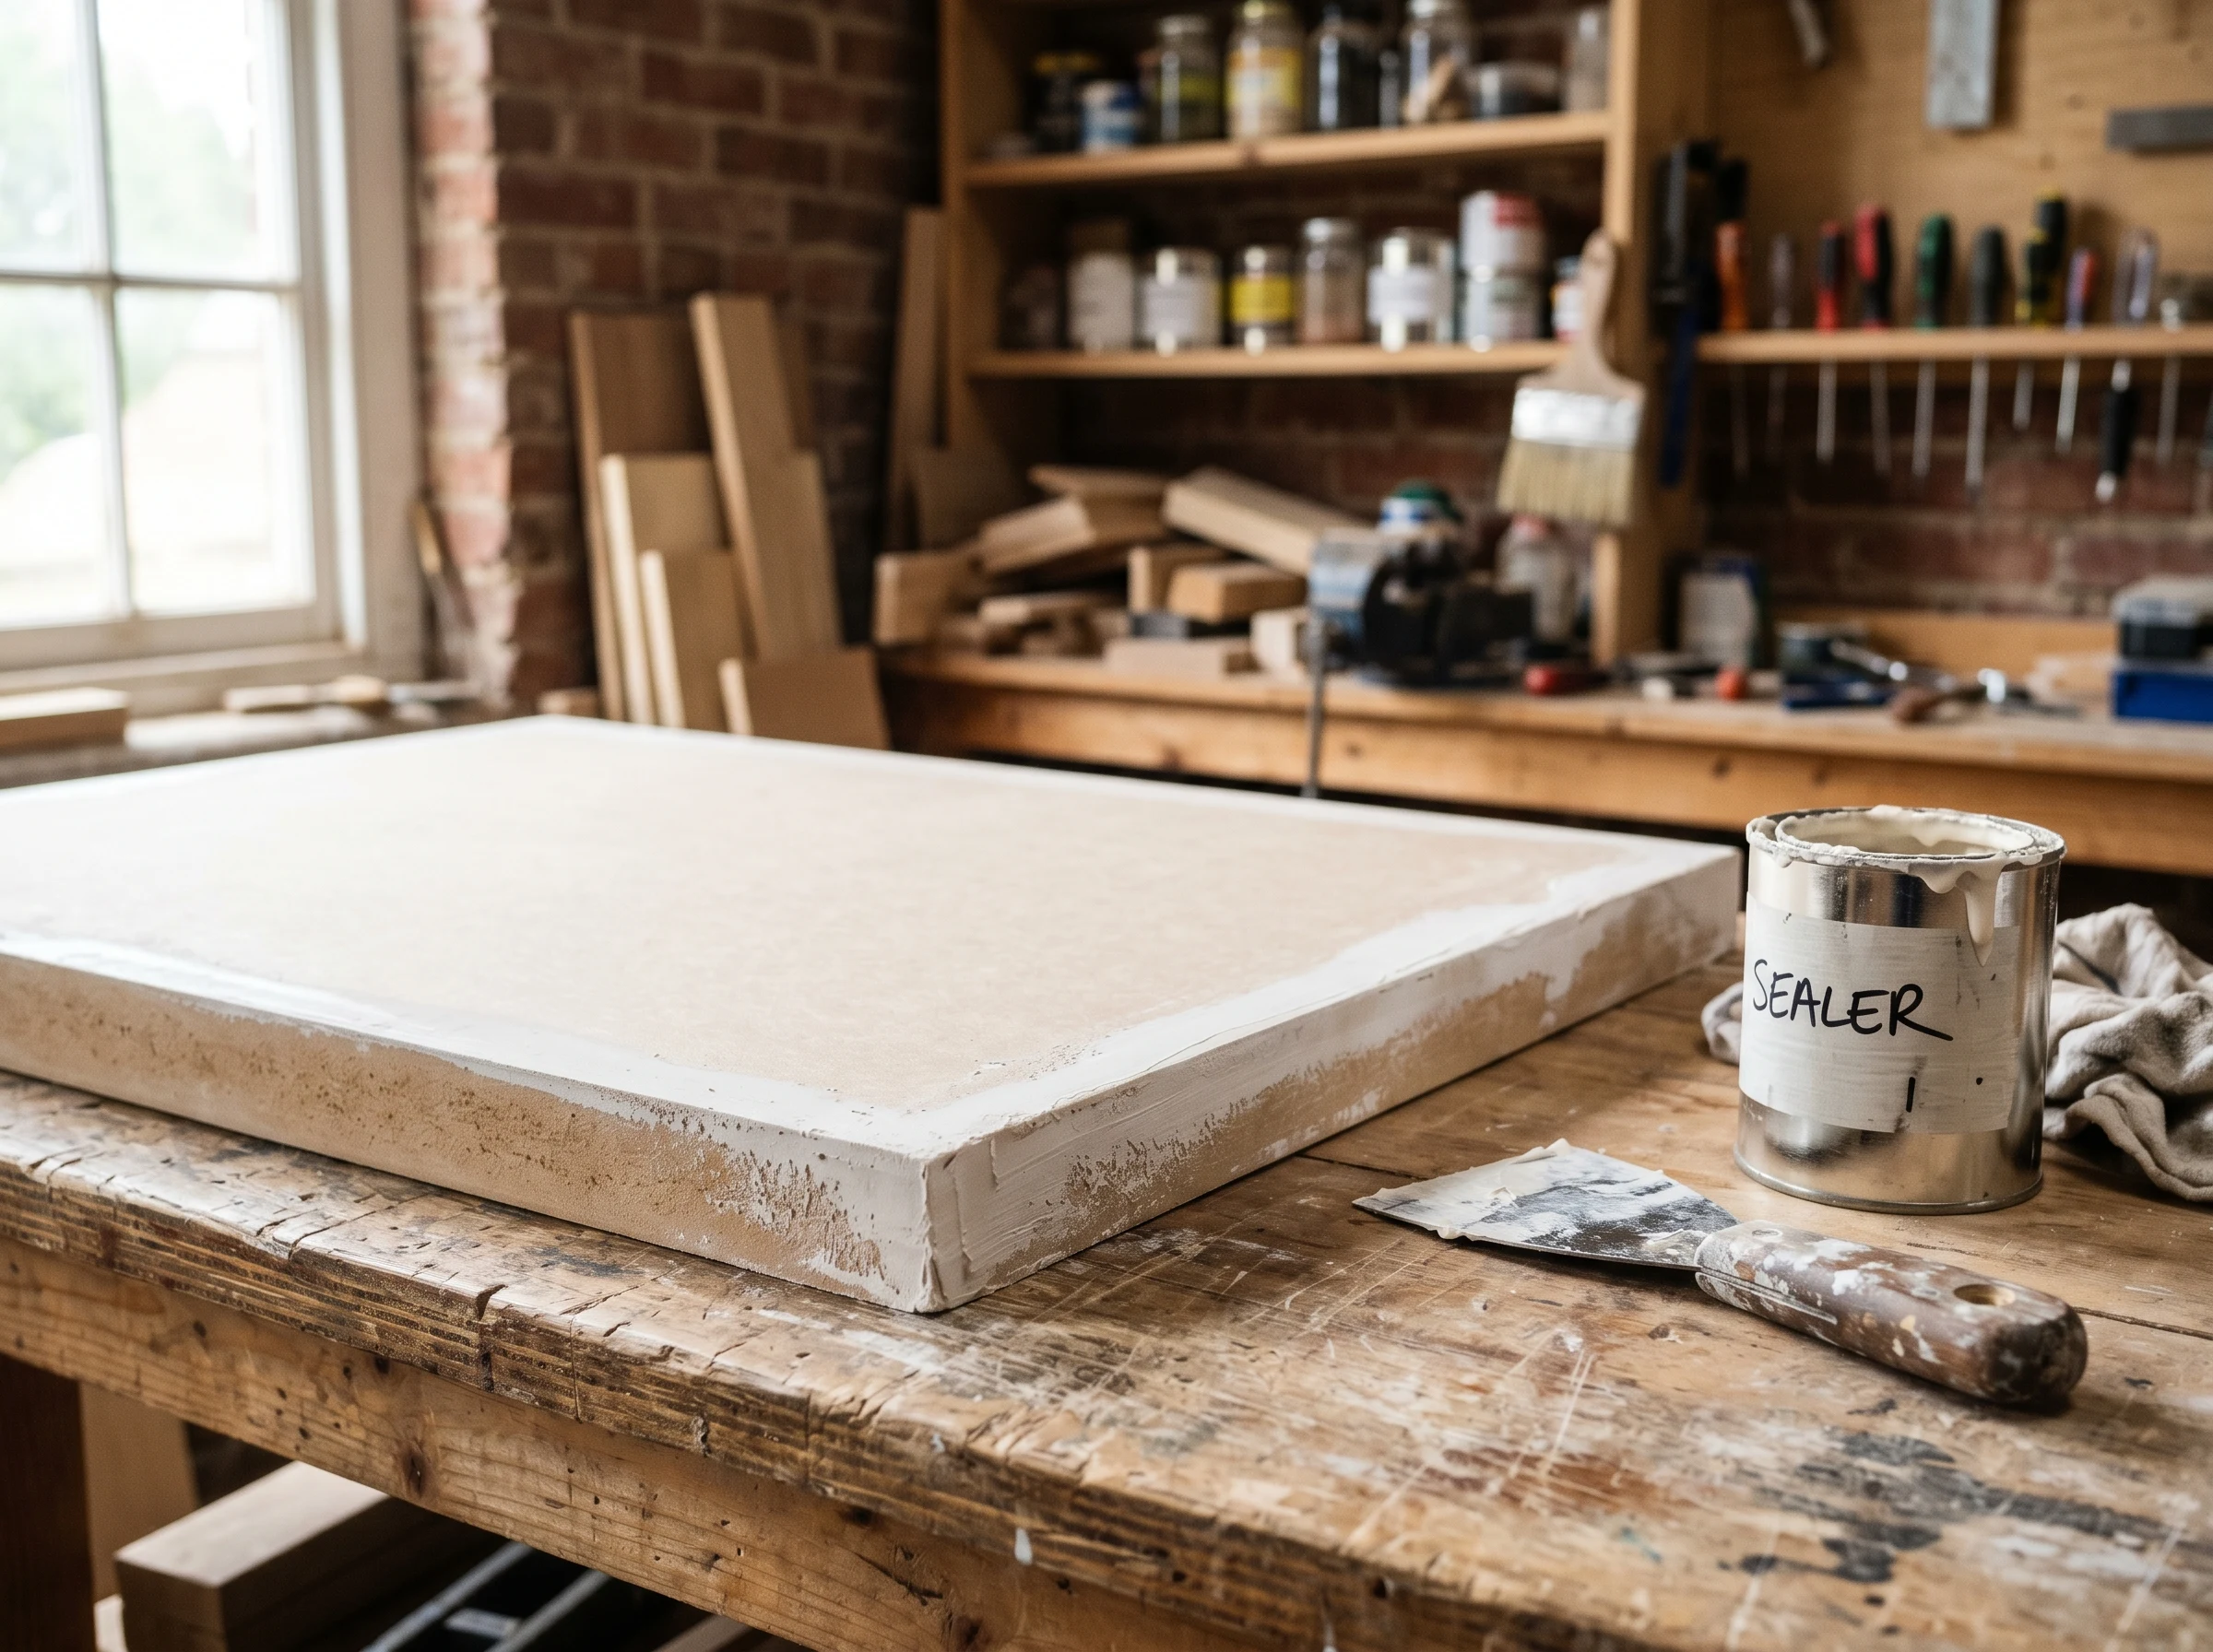
Edges get a thin coat of drywall mud OR Zinsser BIN, sanded smooth. The face still raw.
This is the step everyone skips. Don’t. The four methods that actually work, ranked:
Best — thinned drywall mud (Sheetrock 90-minute or all-purpose). Mix to a sour-cream consistency. Wipe onto the edges with a 1-inch putty knife in two thin coats, 60 minutes apart. Sand smooth at 24 hours with 220-grit. Drywall mud bonds aggressively to MDF resin and fills the fibrous edge structure flat. Best result; slowest method.
Second-best — Zinsser BIN shellac primer. Apply two thin coats with a brush, 45 minutes apart. Sand smooth at 90 minutes with 220. BIN locks the edge fibers without raising them and dries fast enough for same-day prime-and-paint. The compromise: shellac is brittle and any sanded-through spots reveal the underlying fiber.
Third — glue size (PVA glue thinned 50/50 with water). Wipe on, let dry 30 minutes, sand light. Cheap and effective on small projects. Doesn’t fill texture as well as drywall mud but binds the loose fibers reliably.
Worst — relying on the topcoat. It won’t fill the edge fibers no matter how many coats you apply. The edges will fuzz; the fuzz will be visible at six inches; you will redo the project. Don’t try this.
A note on cut edges from your own saw: the edge of a freshly-cut MDF panel is the most aggressively fibrous surface in the whole project. Cuts you make in your shop need extra attention — sometimes two coats of drywall mud, two sands. Pre-cut edges from the supplier are slightly less aggressive but still need sealing.
Step 3 — Prime the whole panel
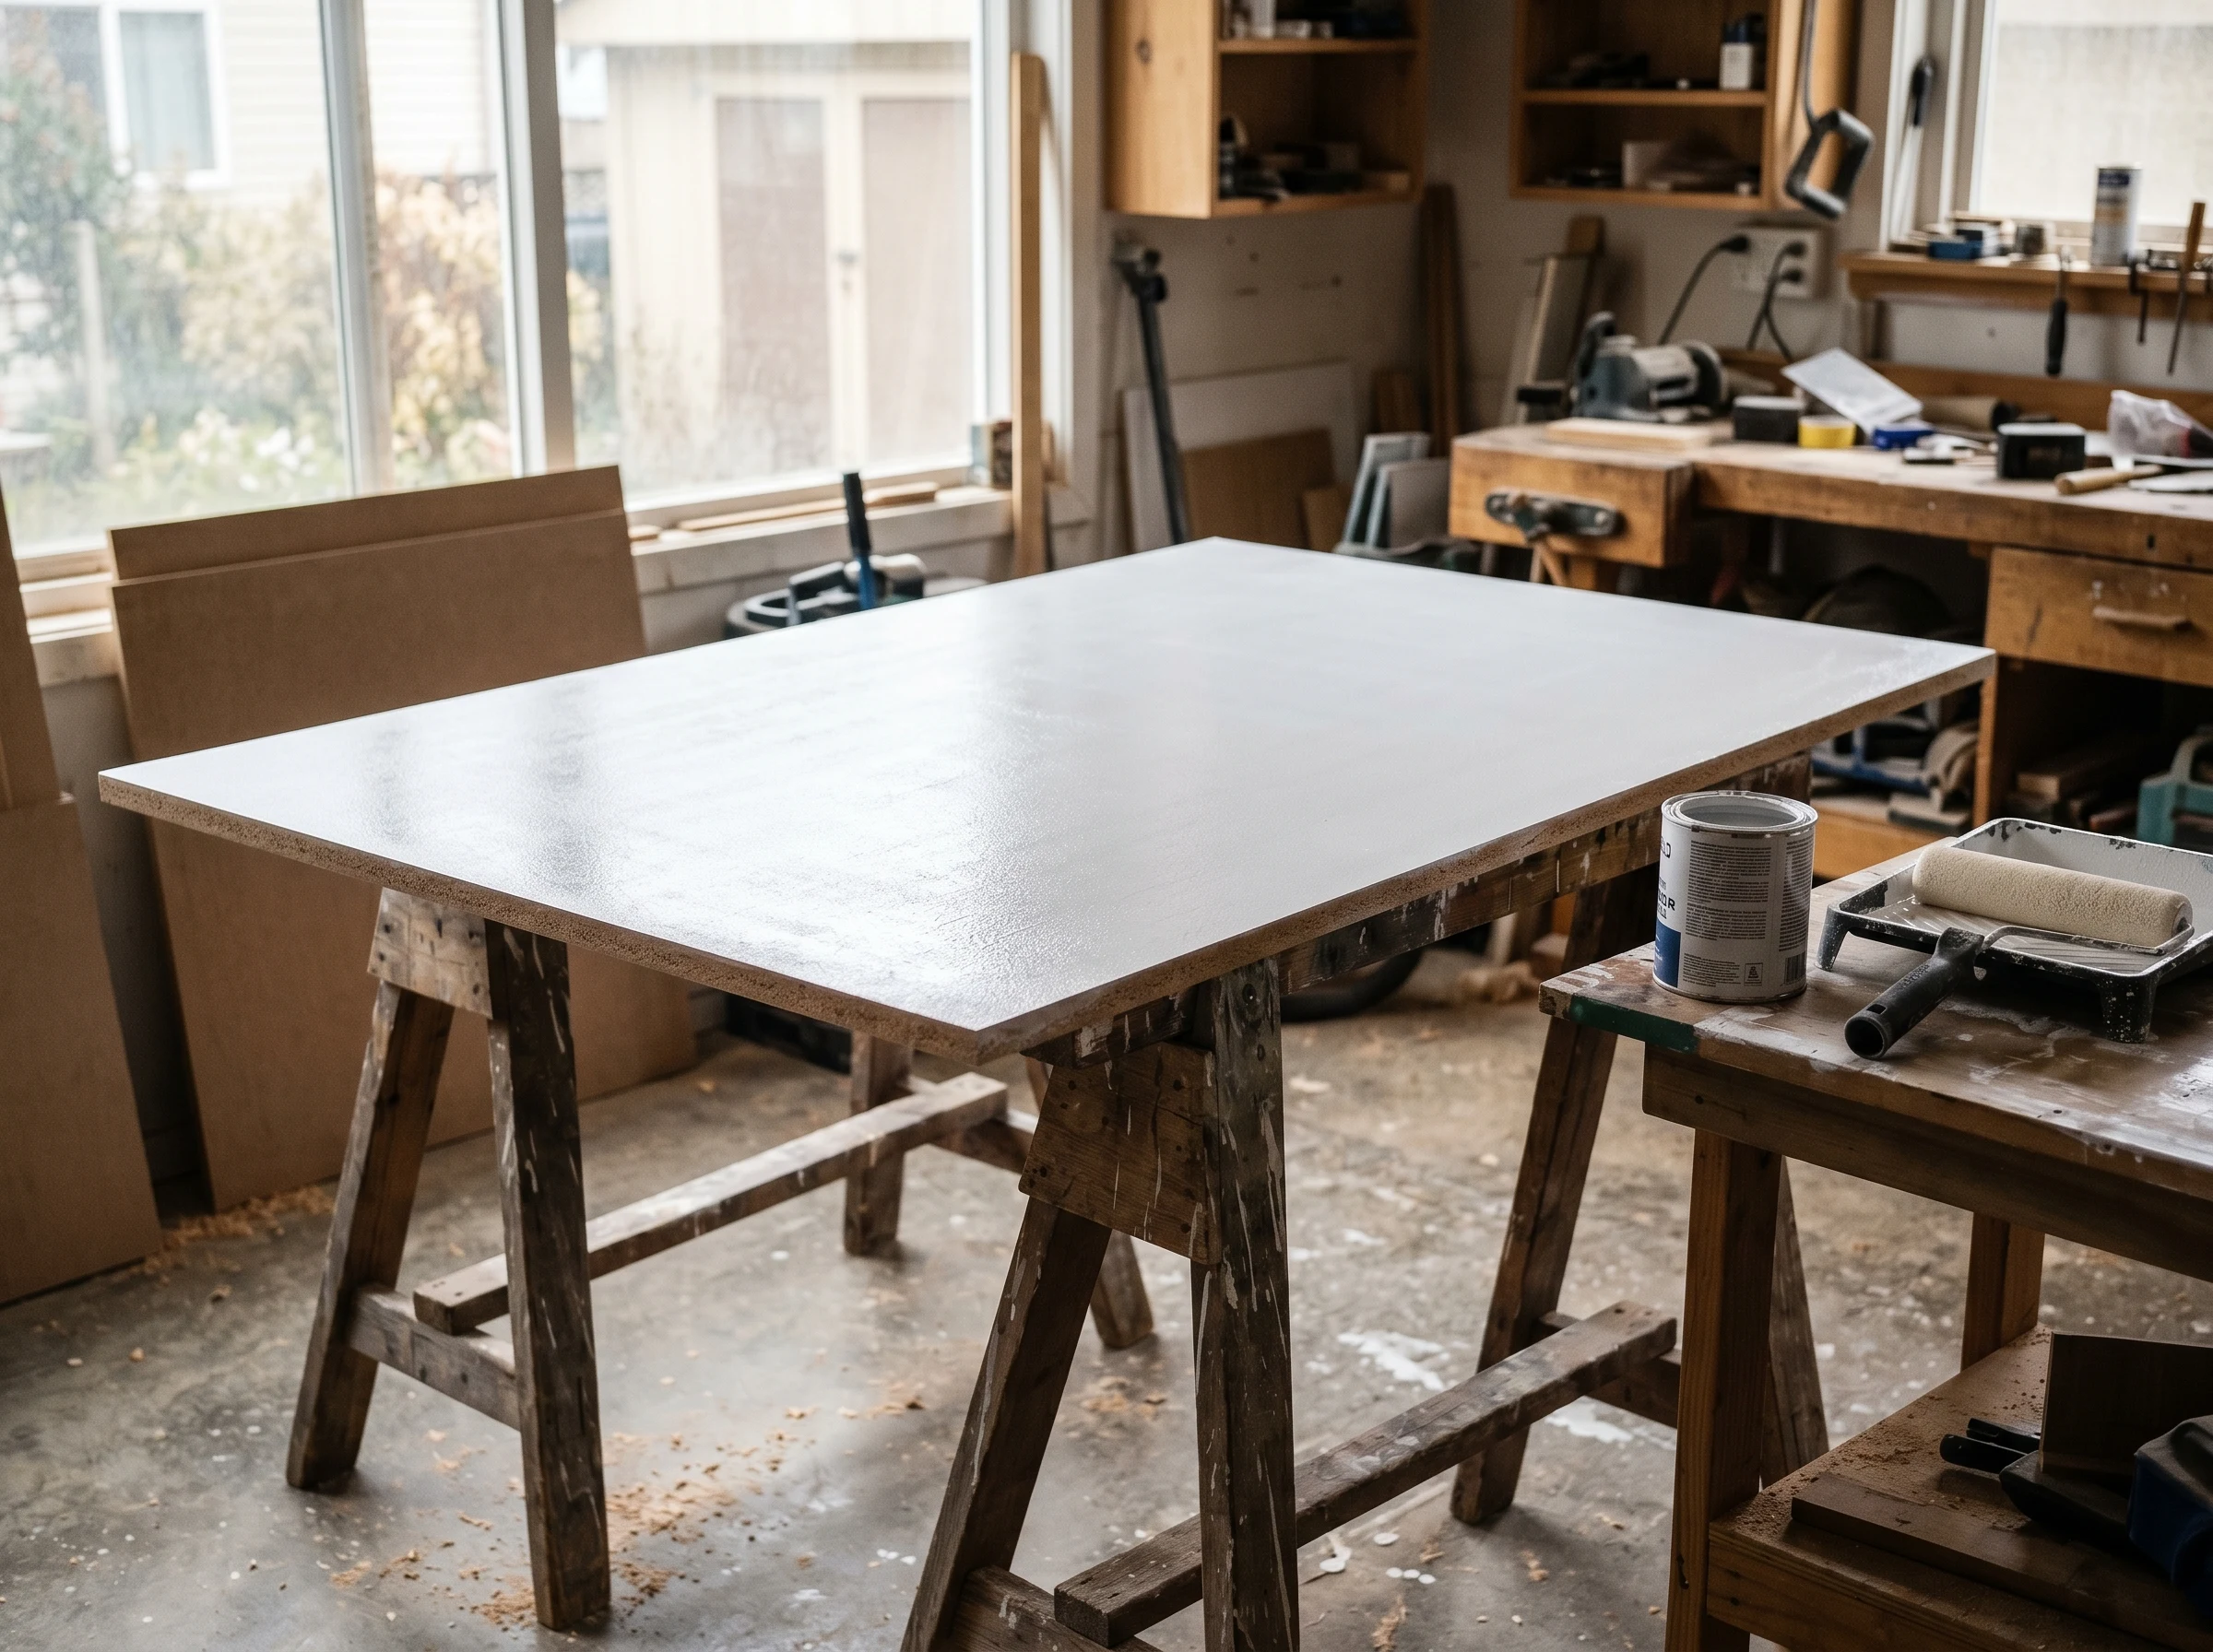
BIN or Stix rolled across the whole panel — face and re-sanded edges read uniform white.
Roll on a full coat of bonding primer over the entire piece. Zinsser BIN for stain-blocking on raw MDF; INSL-X Stix for previously-finished or laminate-faced MDF. One coat is enough if you covered the edges in step 2.
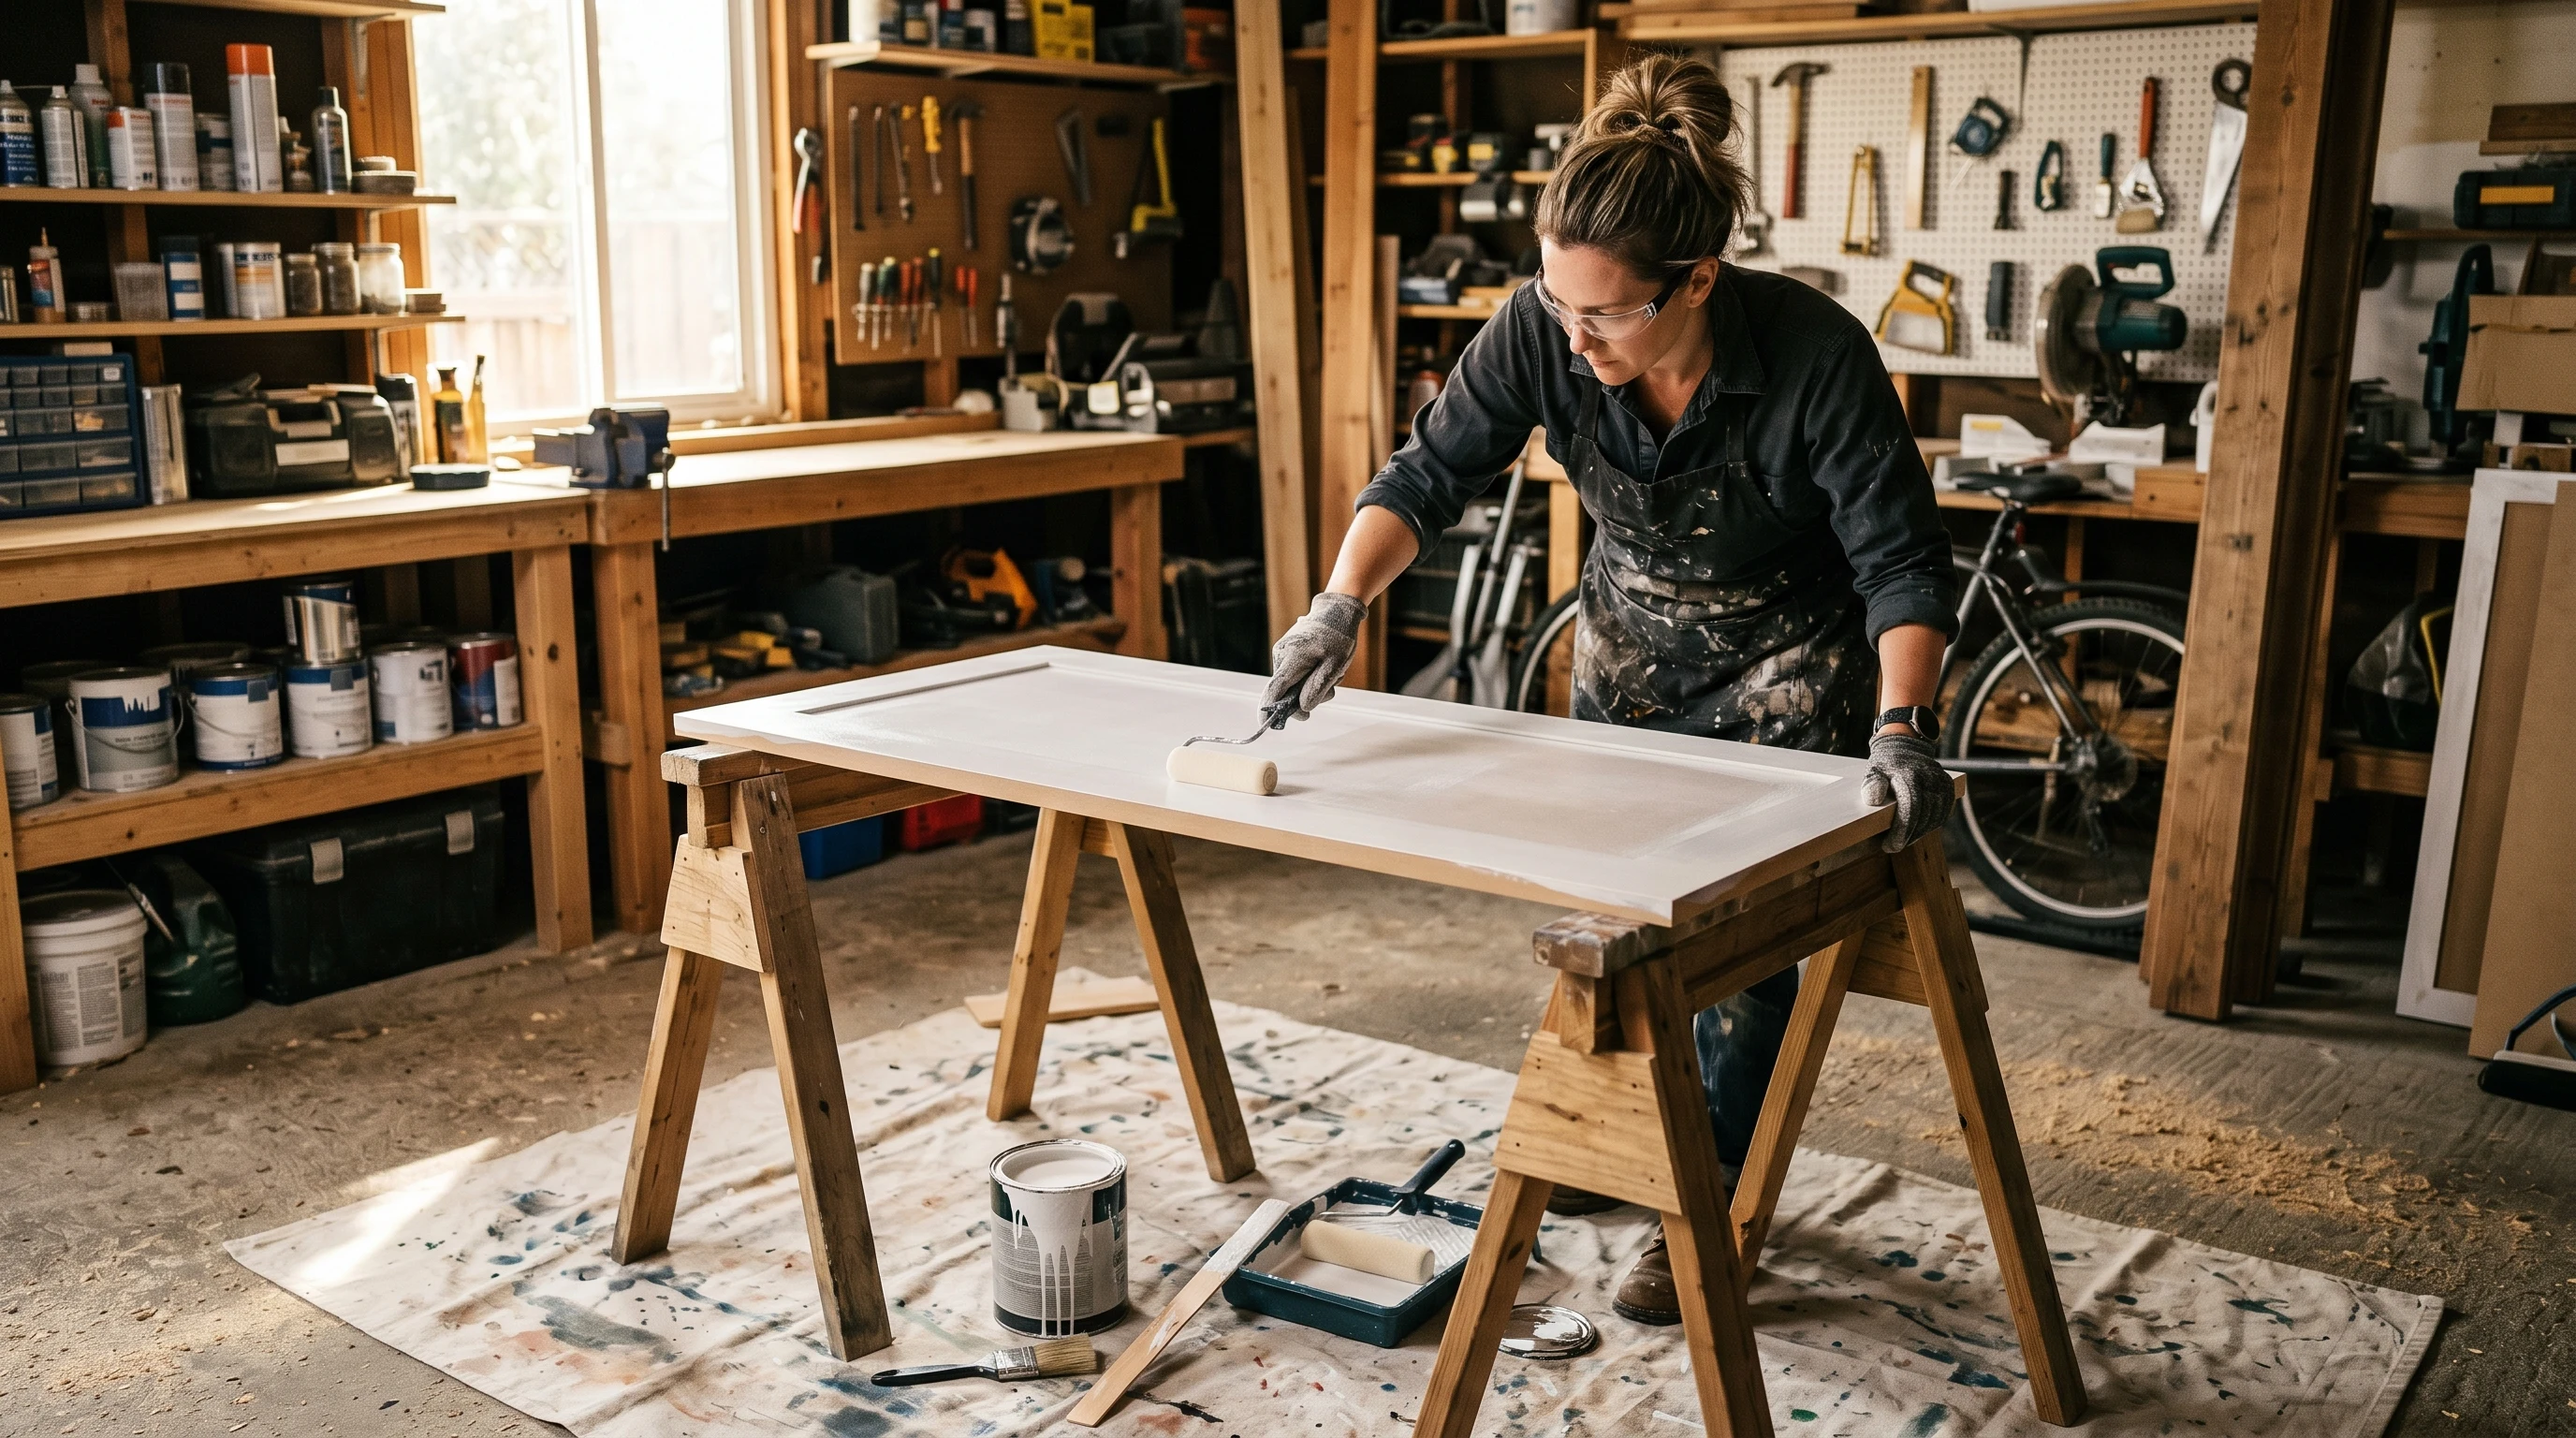
Step 4 — Paint
Waterborne alkyd, foam roller for the face, brush for the corners. 16 hours between coats.
Waterborne alkyd (Benjamin Moore Advance, Sherwin Emerald Urethane) self-levels under a 2-inch angled brush — closest you get to a sprayed finish without a sprayer. Foam roller for the face, brush for edges and corners. Don’t overwork the wet edge. See Best paint for kitchen cabinets → for SKU recommendations — same picks apply to any MDF panel.
Two coats. Sixteen hours between them on Advance, four hours on Emerald Urethane.
Step 5 — Cure
Thirty days before scrubbing. Re-handle gently after 24 hours. The face will feel hard at day 7; the edges take longer because that primer-sealer-paint stack cures from the outside in.
Sheen choice on MDF — different from solid wood
MDF’s super-smooth face is unforgiving in higher sheens. Counterintuitive but true: a glossy MDF panel reveals every speck of dust, every brush stroke, and every primer holiday more than the same finish on solid wood. The wood grain provides visual noise that hides imperfection; MDF doesn’t.
Practical sheen rules for MDF:
- Satin is the safest sheen. Quietly forgiving on minor surface texture; cleans well enough for cabinets and trim.
- Semi-gloss for cabinet doors that need wipe-down resistance. Demands meticulous prep — dust-free environment, two thin coats with full leveling between them.
- High-gloss only on factory-finished or sprayed MDF. Brushed high-gloss on MDF is almost always a regret.
- Matte / eggshell read flat and dead on MDF, especially in low light. Use only on architectural panels in modern interiors where that flatness is intentional.
Where MDF still fails — moisture, heat, structural
MDF has hard limits no paint system can cure:
- Direct water contact. A sink-front cabinet with a small leak swells the MDF in days. Either upgrade to MR-grade or rebuild the affected face in plywood.
- High-humidity rooms. Bathrooms with poor ventilation will eventually swell standard MDF cabinet edges. MR-grade MDF helps; permanent ventilation upgrade is the real fix.
- Above heat sources. MDF outgases formaldehyde at high temperatures and warps near heaters or radiators. Don’t use as a radiator cover or near a wood stove.
- Structural / load-bearing applications. MDF is not structural. Don’t use as shelving over 24 inches without significant support, and never as a stair tread or as exterior structural trim.
If the application crosses one of those lines, MDF isn’t the wrong-paint problem. It’s the wrong-substrate problem. Switch to plywood, cement board, or solid wood as appropriate.
Common mistakes
- Skipping edge sealing. Result: fuzzy edges that telegraph through two topcoats. Fix is to strip and start over.
- Latex primer instead of shellac/bonding. Result: water-based primer raises the edge fibers as it dries. Use BIN shellac or a bonding primer like Stix.
- Sanding too hard on the face. Result: you cut through the dense outer skin and expose the softer interior. Light scuff only — 220-grit one or two passes.
- Brush only, no roller. MDF face shows brush marks at six inches. Foam roller for face, brush for edges.
- Forgetting the underside / inside. Cabinet doors get painted on the visible side and forgotten on the back. Moisture migrates through unsealed back faces and swells the panel from inside. Seal both faces and all edges, always.
- Using cheap sandpaper. MDF dust loads sandpaper fast. Cheap paper clogs in 30 seconds and starts polishing instead of sanding. Use 3M or Norton — and rotate sheets often.
- Painting in a humid garage. MDF readily picks up ambient moisture; a panel sitting overnight in a 70% RH garage absorbs enough water to swell the edges before primer goes on. Climate-control your work space or move the work indoors.
Tools — what’s actually worth spending on
- 220-grit sanding sponge (~$5) — both sides used, conforms to edges and corners
- 150-grit sanding sponge or block (~$5) — for the more aggressive edge work
- Putty knife (1.5–2 inch) — for applying drywall mud to edges
- Foam roller (4 inch, 1/4 nap) — face surfaces. Don’t go bigger than 4” on cabinet doors; over-roll causes ridges.
- Wooster Silver Tip 2” brush — corners, profiles, routed details
- Tack rag — wipe between every step. The dust speck you don’t see now is the bump you stare at later.
- Drywall mud (Sheetrock 90-minute, 1 lb container) — small project supplies last for many doors
Maintenance & longevity
A properly painted MDF cabinet lasts 7–10 years before needing a refresh. Watch the door edges around hardware — that’s where wear shows up first. Touch up annually with a small brush from the same can. If a door starts showing edge fuzz after 5+ years of service, the original edge seal is failing — strip the affected door, re-seal, re-prime, repaint. The other doors are usually fine.
For exterior or wet-location MDF (front door cores, exterior trim, MR-grade kitchen cabinets) inspect the seal annually around any joint that takes water — top edge of doors, joints with countertops, around hardware penetrations. Re-caulk or re-paint preventively. The substrate is fine for years if water never reaches it.