How to Paint a Bathroom: A Weekend DIY Guide for First-Timers
Realistic weekend bathroom repaint — Friday-night prep, two coats by Sunday, hardware back Monday. Hour-by-hour plan, supply list, and the tricky parts.

Okay, so the bathroom needs a repaint. A small bathroom looks like a quick job (five walls, no furniture, done by lunch) and it isn’t. It’s the room with the most cuts and the least working space.
Don’t worry. You can do this in a weekend. Just not in an afternoon.
What you’ll get
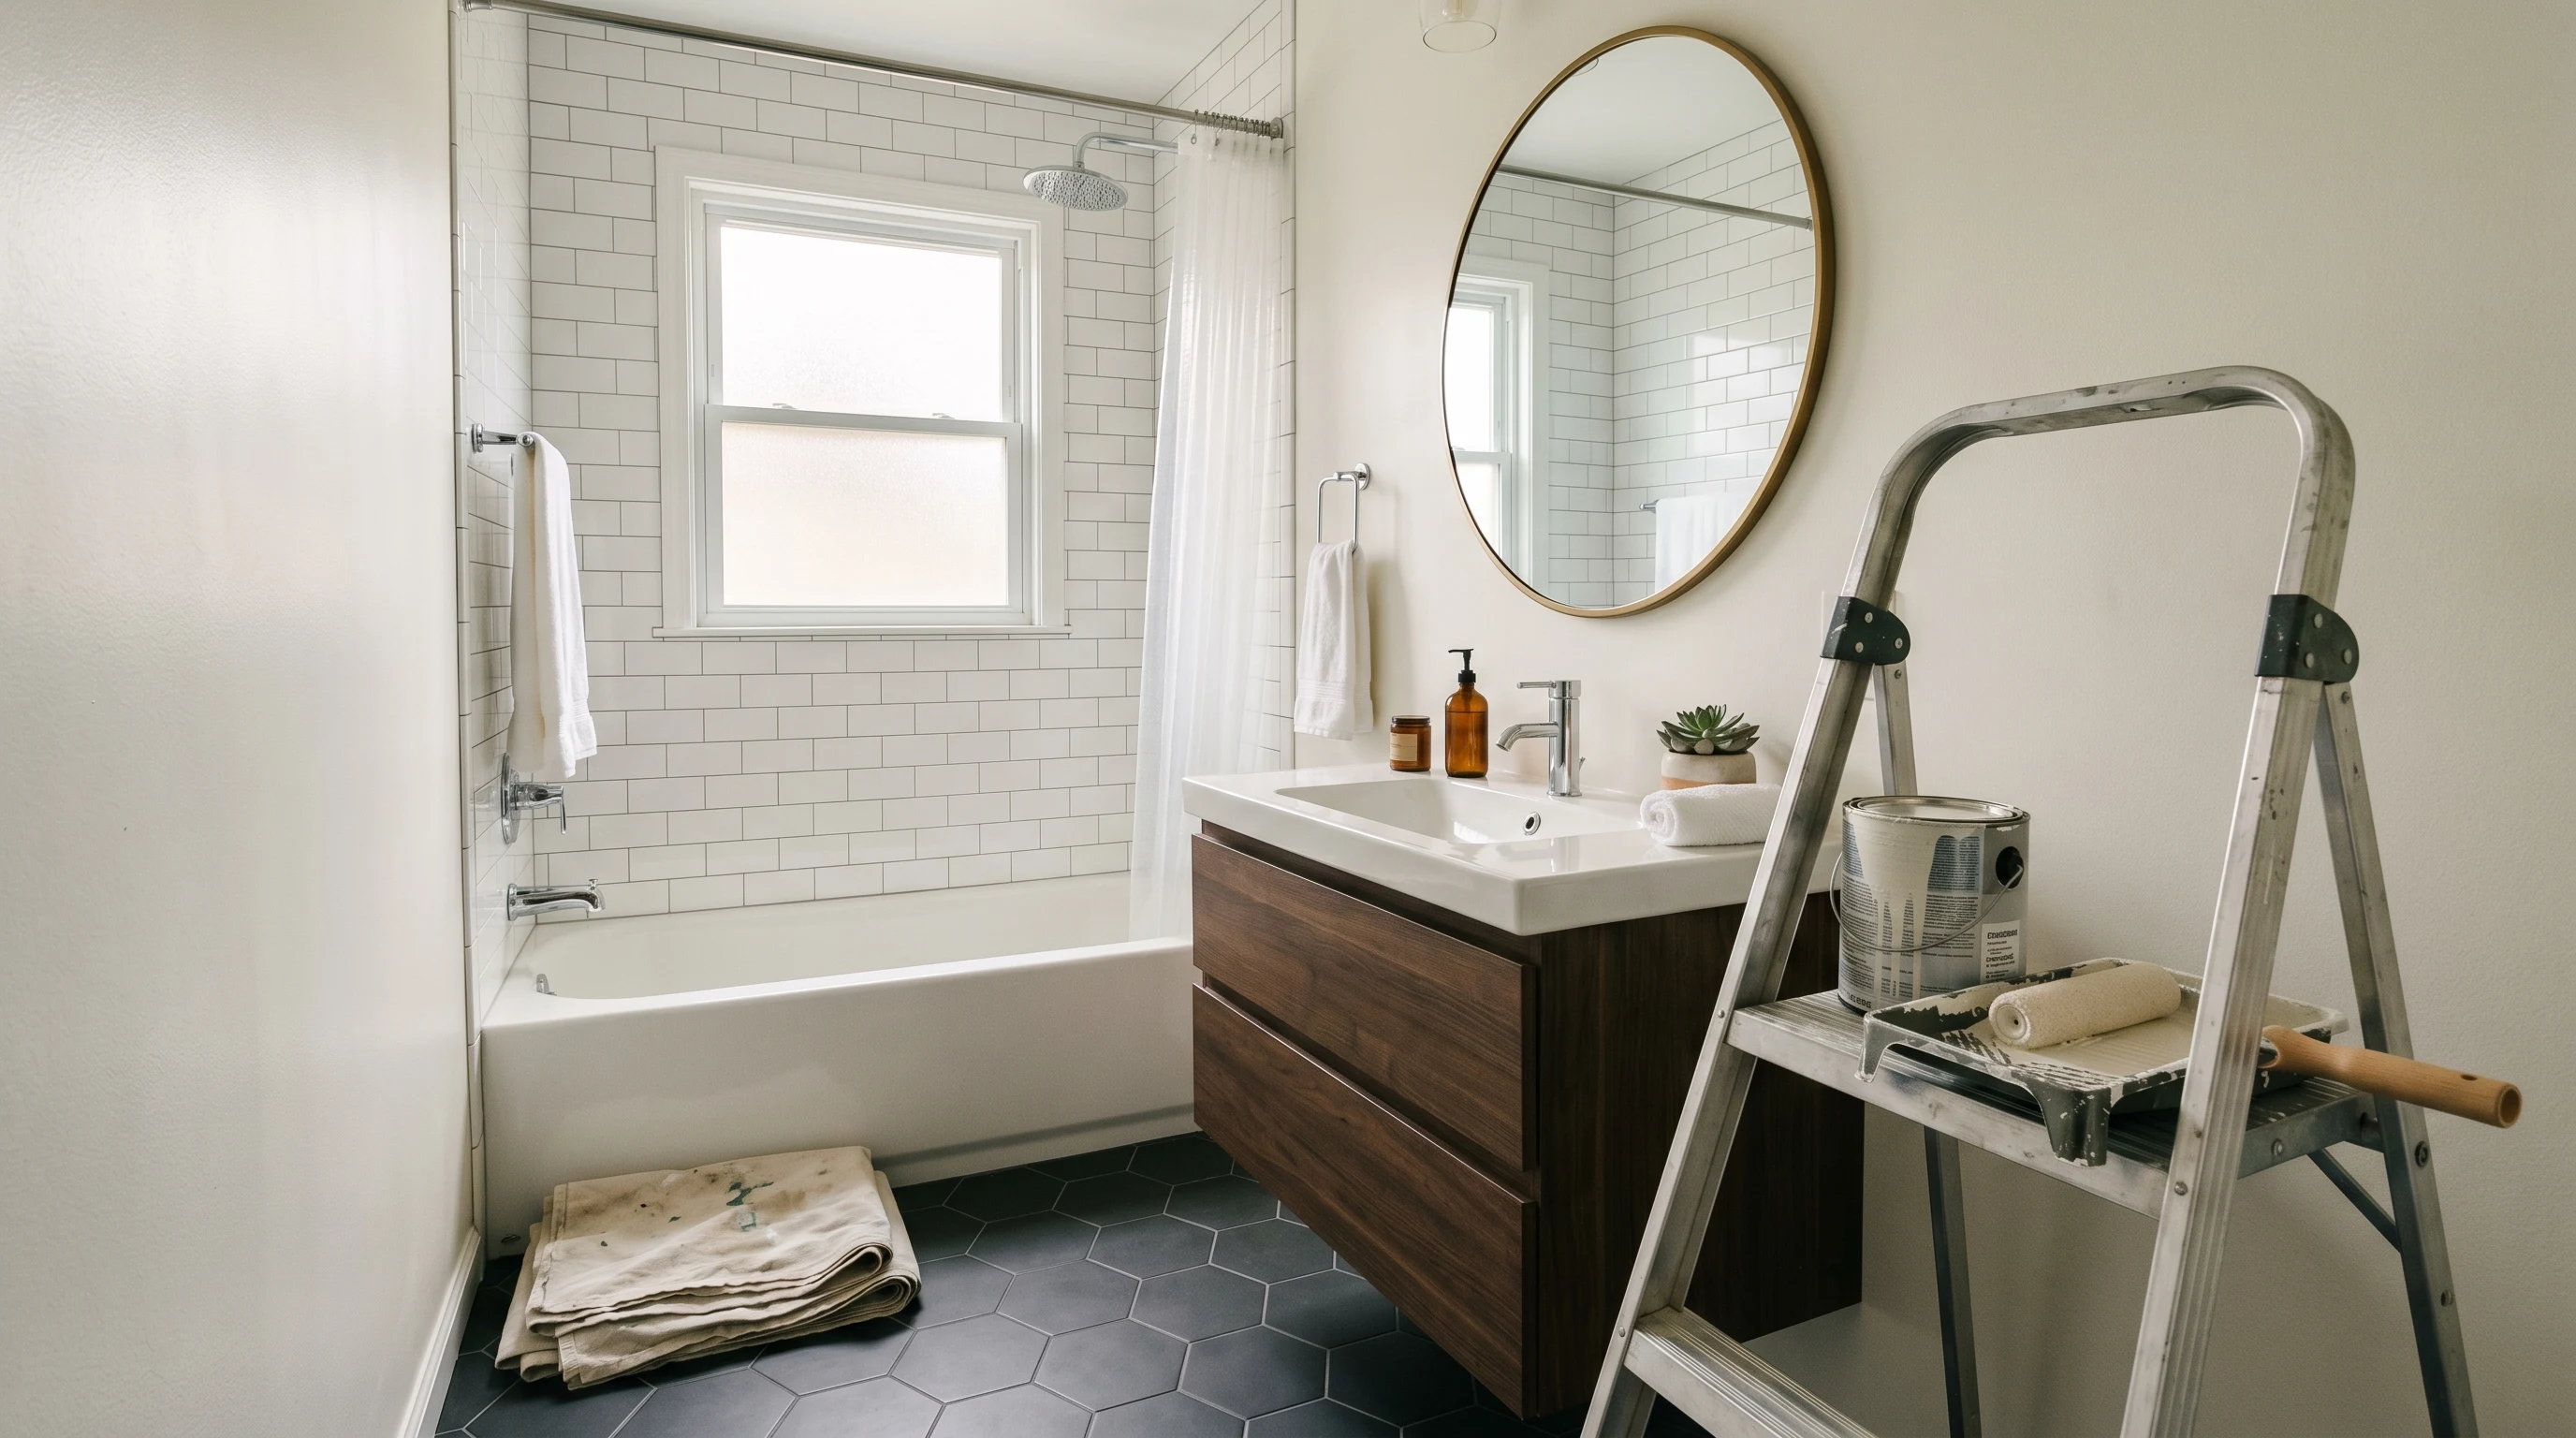
A 5×8 bathroom (toilet, sink, tub-shower combo) freshly painted, hardware back, fresh caulk where it needed it, with a finish that holds up to steam and scrubbing for years.
Honest take on time and cost
| Stage | Active time |
|---|---|
| Friday night prep | 1–1.5 hrs |
| Saturday morning (clean, caulk, spot-prime) | 1.5–2 hrs |
| Saturday afternoon (first coat) | 2–3 hrs |
| Sunday morning (second coat) | 1.5–2 hrs |
| Sunday afternoon (re-caulk, reinstall) | 1–1.5 hrs |
| Monday morning (final tighten) | 15 min |
7–10 active hours spread over 2.5 days, and the spread matters more than the hours. Caulk needs to skin. Paint needs to flash off. Cutting in around tile is slow.
Cost: $120–230 if you don’t already own brushes and rollers. Paint $55–95, mold-killing primer $15, tape and drops $20, brushes and rollers $30–60, caulk and miscellaneous another $20. If you have brushes and tape from a previous project, you’re closer to $80.
Why “medium,” not “easy”
A bedroom is easy. A bathroom is medium because everything is a cut-in: mirror, medicine cabinet, tile transition, vanity, toilet tank, window, exhaust fan. The rolling takes 20 minutes. The cutting takes most of the afternoon. Frog Tape Multi-Surface seals against painted tile better than the cheap blue tape, and bathroom cuts are unforgiving.
What you’ll need
Paint. Benjamin Moore Aura Bath & Spa is the gold-standard pick (matte but scrubbable, mildew-resistant, near-zero VOC). Also good: Sherwin-Williams Emerald Interior, Behr Premium Plus Bath, or Kompozit Bathroom & Kitchen. See our bathroom paint round-up →. Sheen: eggshell or satin. Skip semi-gloss; it shows every imperfection.
Spot primer. Zinsser Mold Killing Primer, 1 quart. Mildew spots, water-stained ceiling spots, and patched areas only. You don’t need to prime the whole room.
Tools. 2” angled sash brush (Wooster Silver Tip or Purdy XL Glide), 9” roller with two 3/8” microfiber sleeves, 4” mini-roller with two sleeves for behind the toilet, Frog Tape Multi-Surface, canvas drop for the floor plus plastic for the toilet and vanity, paintable mildew-resistant caulk (DAP Kwik Seal Plus) with a caulk gun, putty knife and lightweight spackle, 220-grit sanding sponge, box fan, and a clamp work light or headlamp. Bathroom lighting is bad for spotting missed coverage.
For substrate prep detail, see the bathroom walls guide →. This guide stays on the weekend flow.
With the toilet in or out?
You don’t need to pull the toilet. The mini-roller and a 2” brush get you to the wall behind it. Pulling it is a half-day plumbing job. Exception: if there’s visible mold directly behind the toilet or the wall feels soft, you’ve got a leak, and paint won’t fix it.
The weekend flow
Friday evening: prep (1–1.5 hours)
This is the hour that decides whether your weekend goes well.
Empty the room: counter, medicine cabinet, towels, bath mat, plunger, trash. Remove the hardware (towel bar, TP holder, robe hook, switch plates, outlet covers) and bag the screws labeled. You think you’ll remember which screw came from where. You won’t.
Patch old anchor holes with lightweight spackle. Dries in an hour; sand Saturday morning.
Tape off with Frog Tape along the top edge of the tile, the vanity backsplash, around the mirror frame if it’s wall-mounted, the ceiling line, and the door and window casings. Press firm with a fingernail; a loose tape edge bleeds.
Drop cloths down, box fan in the window pointing out. Don’t paint a bathroom with the door closed.
The strip of wall above the tile won’t take tape; the tile line isn’t straight enough. You’ll cut that in freehand Saturday.
Saturday morning: clean and prime spots (1.5–2 hours)
Wipe walls with a microfiber and either TSP-substitute or a 1:4 white vinegar solution. Bathrooms get a film of soap and aerosolized hair product that paint won’t stick to. Let dry 30 minutes.
Hit the mildew spots. Dark shadowing in the upper corners of the shower or above the tub is mildew. Wipe with 1:3 bleach (or Concrobium), let it sit 10 minutes, wipe with clean water. Dry an hour with the fan running.
Spot-prime: brush Zinsser Mold Killing Primer over every mildew spot, patched area, and water-stained ceiling spot. Dries in 30 minutes.
Re-caulk if the bead along the tub-to-wall joint is yellowed, cracked, or peeling. Cut out the old bead with a utility knife, wipe the channel, lay a fresh thin bead of paintable mildew-resistant caulk, smooth with a wet finger. Let it skin an hour, ideally two, before paint goes near it. Painted-over wet caulk traps moisture and cracks within a month.
Saturday afternoon: first coat (2–3 hours)
Cut in starting at the ceiling line and work down: mirror, medicine cabinet, tile transition, door casing, window. 2” angled brush. If a cut isn’t crisp, don’t go back over it; the next coat fixes it.
Roll the flats. 9” roller for the big walls, 4” mini-roller for behind the toilet and above the medicine cabinet. “W” pattern, then back-roll. Don’t load the roller heavy or you’ll drip onto the tile.
Most bathroom paints flash off in 2–4 hours and recoat in 4 (read the can). While you wait, peel tape on any cut you finished cleanly: slowly, at a 45° angle, while paint is still slightly tacky.
Watch the ceiling drip-line directly above the shower. Paint sags there because the ceiling is the wettest, hottest part of the room. Roll thin coats.
Sunday morning: second coat (1.5–2 hours)
Inspect under a clamp light. You’ll see holidays (spots where the first coat missed); the second coat covers them. Run a 220-grit sponge gently over the first coat to knock down nibs, wipe with a dry microfiber.
Second coat, same order: cut in, then roll. Goes faster because you’re not figuring out cuts, just covering. This is the satisfying coat.
Once the second coat is firm but not fully dry (about 30–60 minutes), pull all remaining tape at a 45° angle, slowly. If a corner pulls paint, dab the spot with a small brush from the can.
Sunday afternoon: reinstall (1–1.5 hours)
Switch plates and outlet covers go back. Run a fresh thin bead of paintable caulk where the wall meets the vanity backsplash, the tile, and the baseboard. Smooth and leave alone. This is the touch that makes a DIY job look professional.
Reinstall towel bar, TP holder, robe hook. Snug but not crushing, or you’ll crack the new paint. If a hole has shifted, redrill rather than force the anchor.
Box fan stays on overnight. The paint is dry to the touch but not cured. No hot shower yet.
Monday morning (15 minutes)
Final tighten on all the hardware. Peel any stray tape. Take a hot shower; the paint’s had 18+ hours and can handle steam now.
The tricky parts
A few spots in every bathroom give first-timers trouble.
The wall above the tile. Tile lines aren’t straight enough for tape. Load the brush lightly, hold it at a 30° angle, pull a slow steady line about 1/8” above the tile. Don’t try to touch the tile; leave a hairline. From three feet away you can’t see the gap, and a wobbly line right against the tile reads worse than a clean line above it.
Behind the toilet. Don’t try a 9” roller back there. Use the 4” mini-roller for the wall and the 2” angled brush to cut along the tank and the floor. If you can’t reach a strip directly behind the tank, leave it; nobody can see it without taking the toilet off.
The ceiling drip-line over the shower. Roll thin coats and back-roll firmly. If you see a sag forming, smooth it immediately with the brush. Once it skins over, you have to wait for it to dry to fix it.
Around the mirror. If your mirror is glued or screwed flat to the wall, tape the edge and cut to the tape. Glass is unforgiving and any drip stays visible forever.
The exhaust fan vent. Take the cover off, paint behind it, put the cover back. Most pop off with a squeeze of the spring clips. If yours is stuck, paint around it with a 1” sash brush rather than risk a broken plastic clip.
Common mistakes
- Painting over wet caulk. Trapped moisture cracks the film within a month.
- Skipping the wipe-down. The soap-and-aerosol film is invisible; paint won’t grip it.
- Using regular wall paint. Pink mildew spots show up near the shower in six months. Pay the extra $20 for bathroom-grade.
- Painting with the door closed. No airflow means slow drying and a longer wait between coats.
- Reinstalling hardware too early. Screws into wet paint pull a halo you’ll see forever. Three hours minimum, overnight ideally.
- Hot shower the same day. Steam softens uncured paint and condensation leaves drip marks. Wait 24 hours.
- Skipping the second coat. Bathroom paint needs two; the mildewcide and scrubbability live in the cured film thickness.
Maintenance and touch-ups
Bathroom paint done right holds up 5–8 years before it needs a refresh. The tub-to-wall caulk usually fails first; redo that without repainting. Mildew shadowing in the upper corners of the shower is second; wipe with 1:3 bleach monthly to keep it from setting in.
Keep a pint mason jar of leftover paint, sealed tight, for touch-ups. Gallon cans rust at the rim within a year. Touch-ups blend best within 18 months; past that, the wall has faded and a fresh patch reads brighter.